Adjusting White Balance
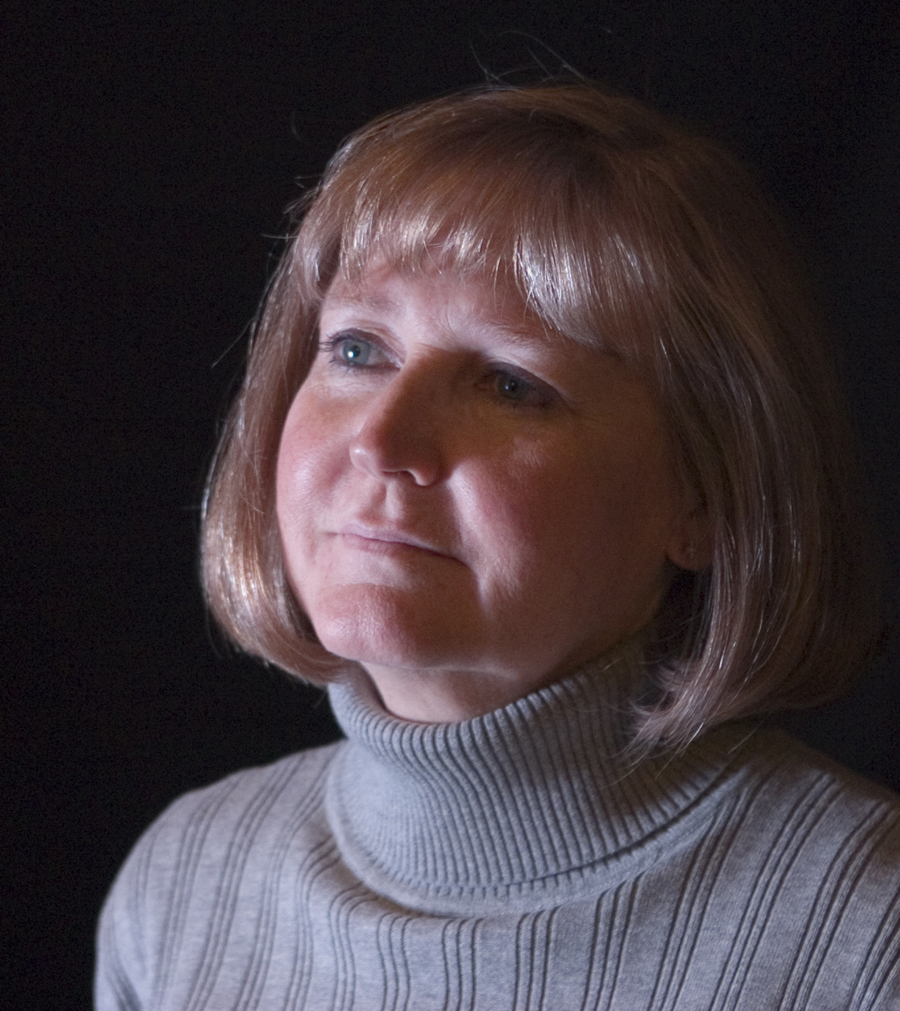
I found this session’s tutorial difficult as I am not familiar with adjusting the colour settings of an image, however I was eager to learn. The appearance of the image seemed fine with no faults, however I was told that we couldn’t trust our eyes when it comes to digital editing, since our eyes naturally “White Balance“. However when I opened up the “Histogram“, it revealed that each individual layer of Red, Green and Blue were out of balance compared to a natural grey tone, this was because the Blue layer was high. To adjust this problem in a non-destructive way, I created another layer and used the “Curves Tool” to change the tone which resulted in the image turning slightly green.
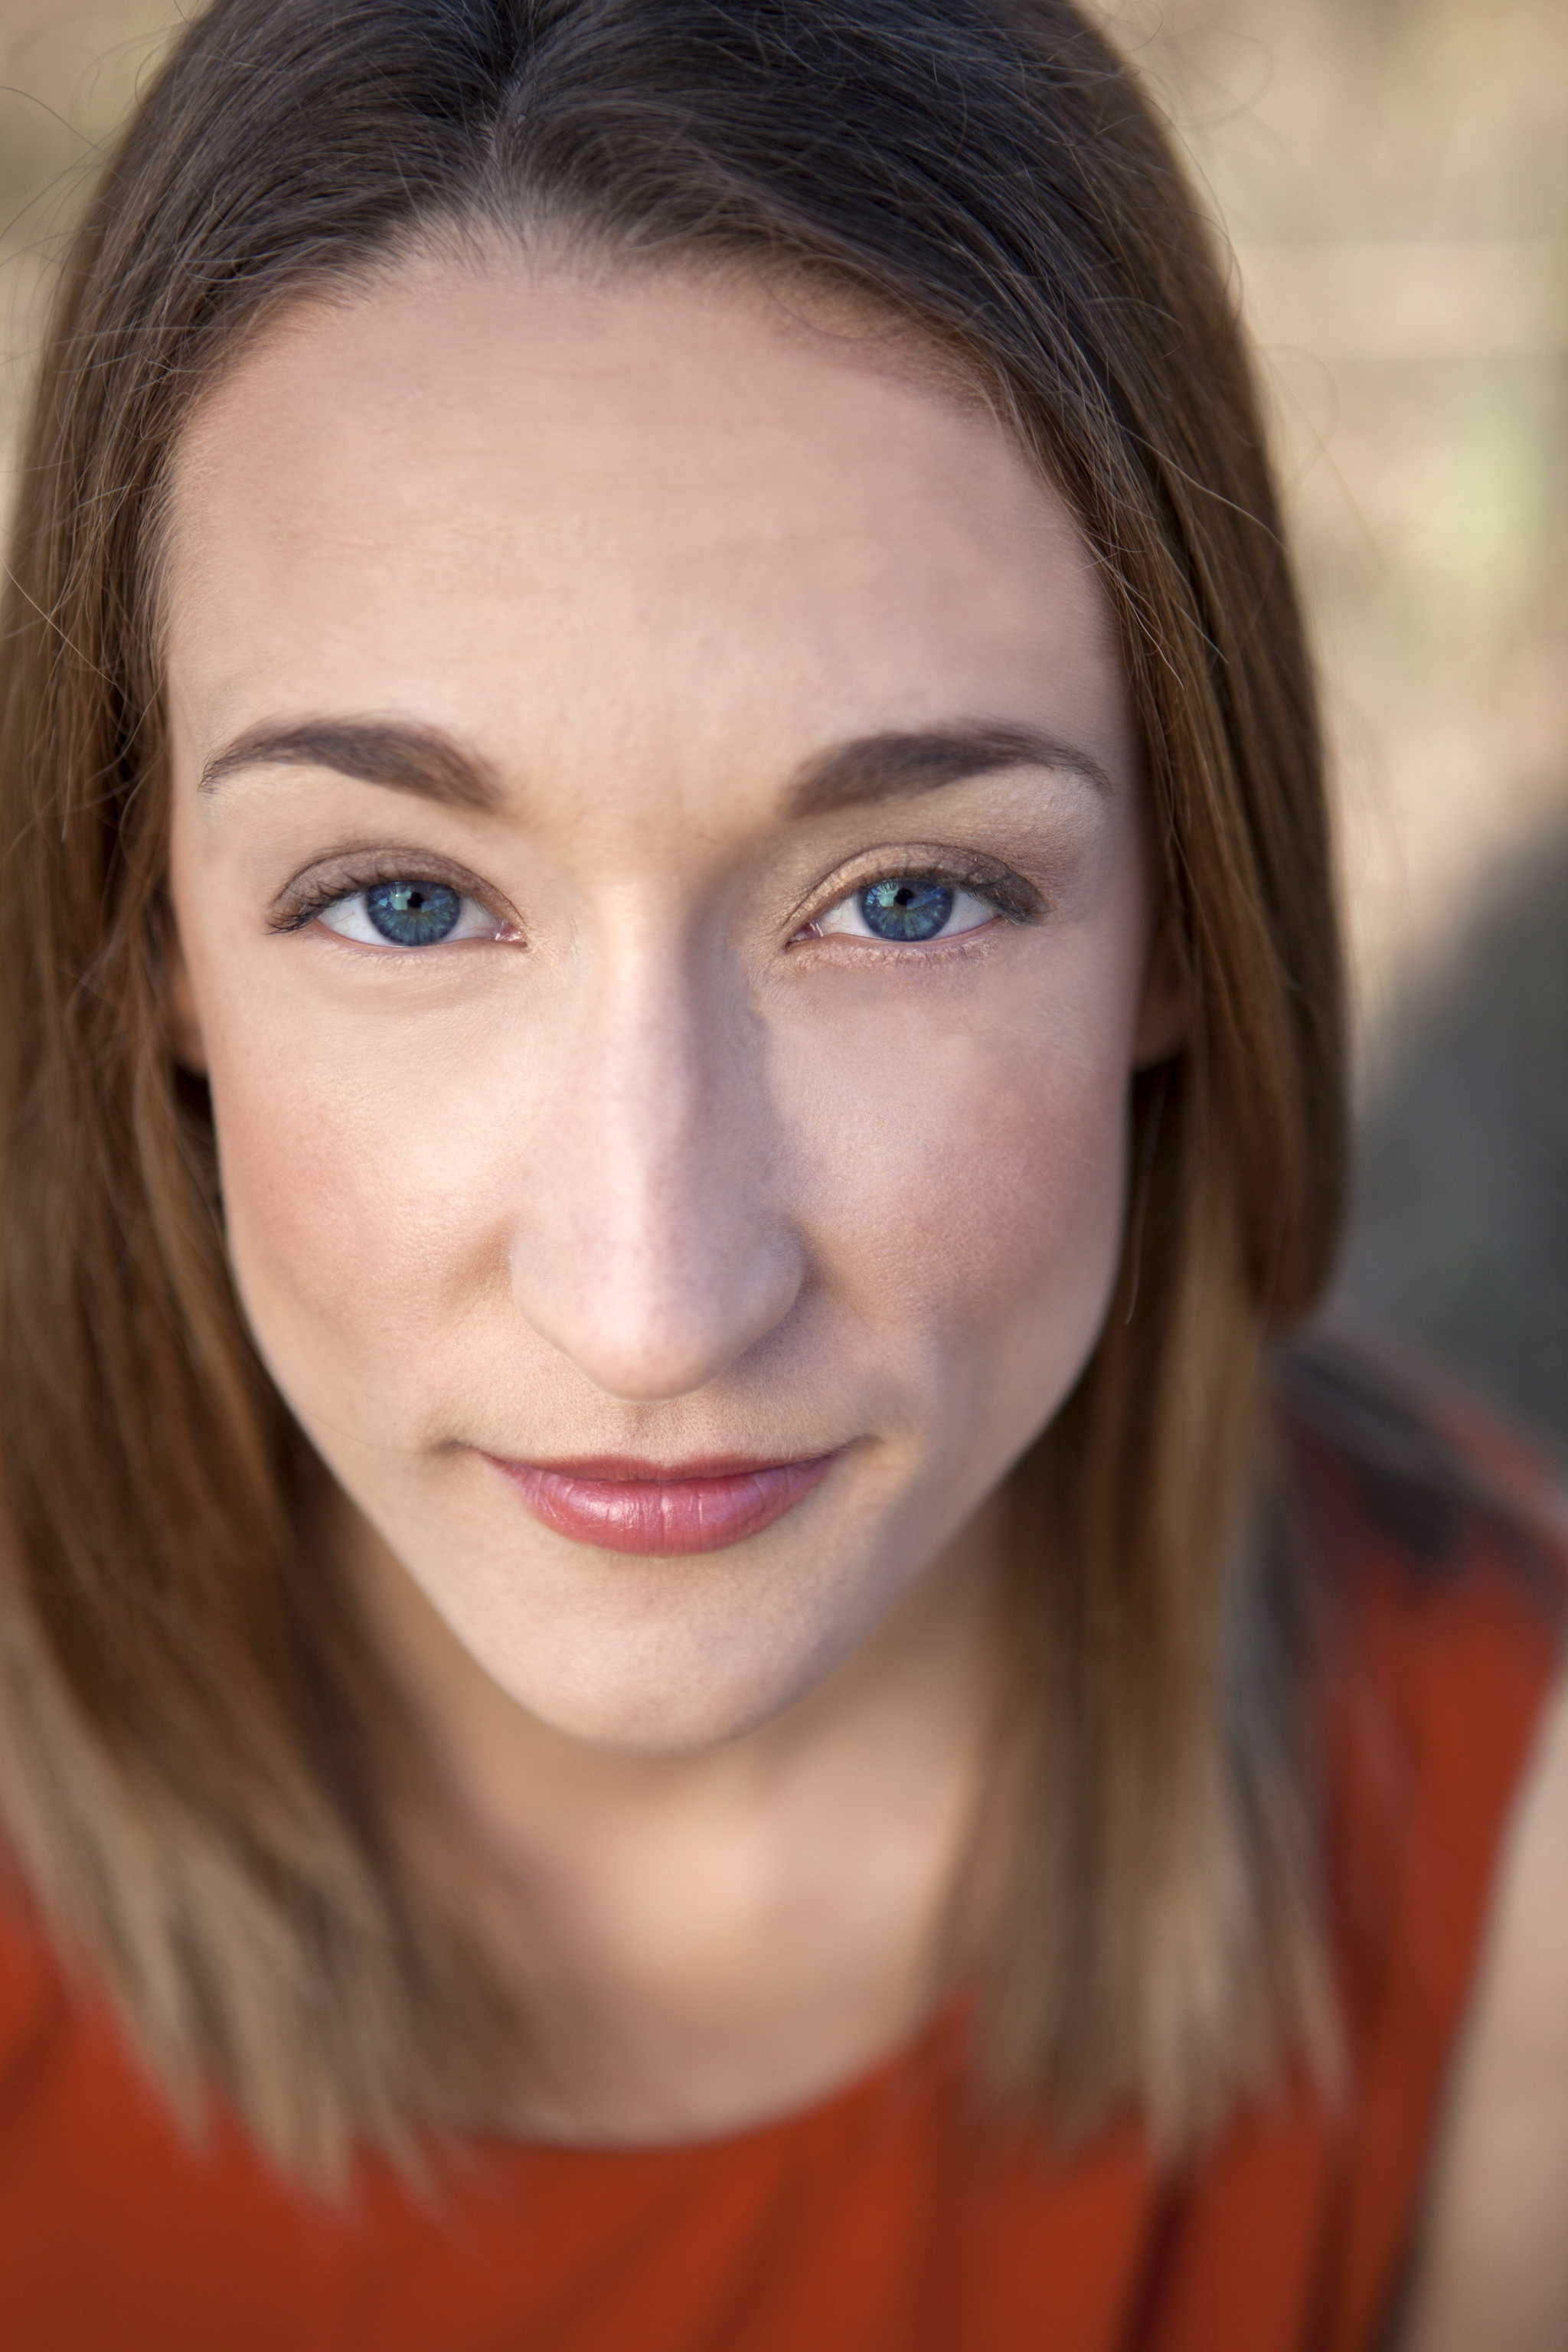
Original Image.

Final Outcome.